textures are everywhere in real-time rendering, but how they’re sampled at different distances is easy to get wrong. this was an assignment focused entirely on mipmapping — building an interactive demo where i could switch between every filtering mode in real time and actually see what each one does.
what i built
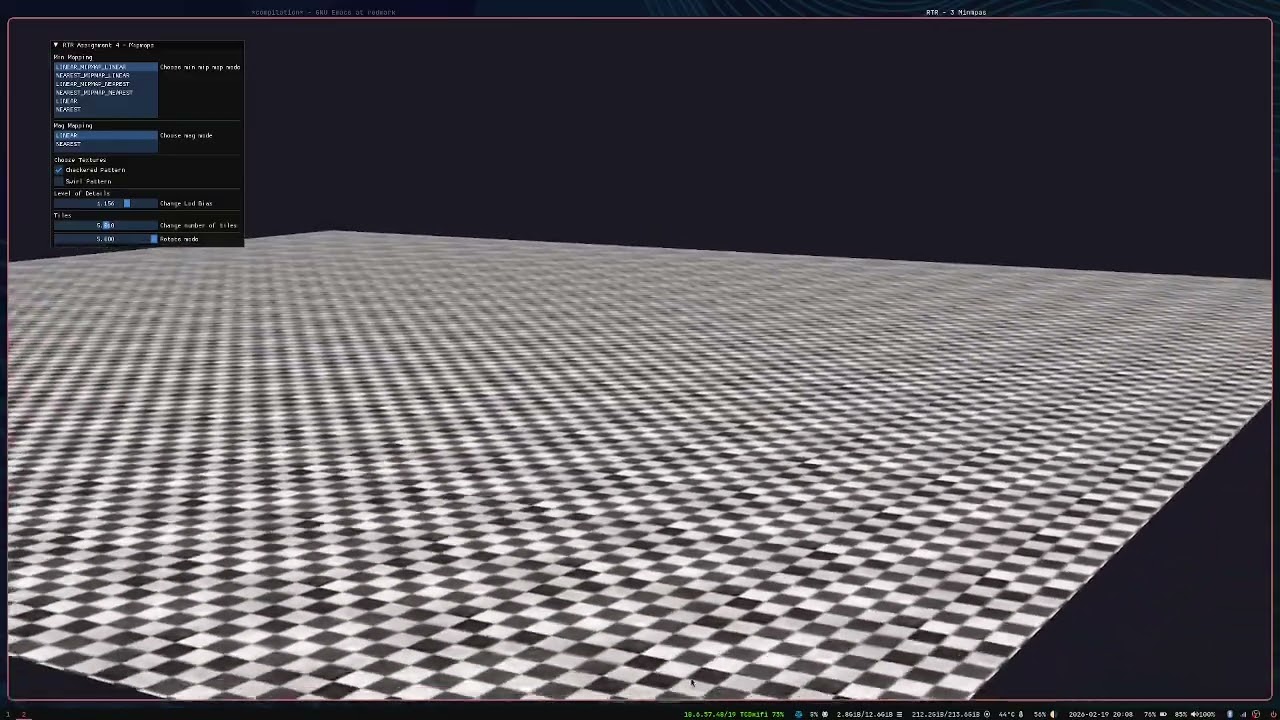
an opengl scene with a tiled floor and a rotating suzanne head, where every texture parameter is live-editable through an imgui panel. the controls expose:
- minification filters:
LINEAR_MIPMAP_LINEAR,NEAREST_MIPMAP_LINEAR,LINEAR_MIPMAP_NEAREST,NEAREST_MIPMAP_NEAREST,LINEAR,NEAREST - magnification filters:
LINEAR,NEAREST - LOD bias: slider from -1.0 to 2.0
- tile count: how many times the texture repeats across the floor
- texture swap: between a checkered floor texture and a swirl pattern
the camera is fly-cam controlled — left-click to capture, WASD to move, ESC to release — which makes it easy to walk up close and back away to observe aliasing artifacts live.
what mipmapping actually solves
when a textured surface is far away, many texels map to a single screen pixel. without mipmapping, the GPU picks one texel somewhat arbitrarily, and as the camera moves, different texels get picked — this is texture aliasing, the shimmering/crawling effect on floors in older games.
mipmaps solve this by pre-generating a chain of half-resolution versions of the texture (1024 → 512 → 256 → 128…). the GPU then picks the mip level that closest matches the screen-space size of the surface, blending between levels when needed.
generating them in opengl is literally one call after uploading the texture:
glTexImage2D(GL_TEXTURE_2D, 0, format, width, height, 0, format, GL_UNSIGNED_BYTE, data);
glGenerateMipmap(GL_TEXTURE_2D);
the difference between modes
after playing with the live sliders, the differences become very obvious:
| mode | what it does |
|---|---|
NEAREST_MIPMAP_NEAREST |
picks closest mip, nearest texel — fast, ugly |
LINEAR_MIPMAP_NEAREST |
picks closest mip, bilinear sample — decent |
NEAREST_MIPMAP_LINEAR |
blends two mip levels, nearest texel — weird seams |
LINEAR_MIPMAP_LINEAR |
trilinear filtering — best quality, smoothest |
trilinear (LINEAR_MIPMAP_LINEAR) is the go-to for most surfaces. the seam between mip levels disappears completely.
lod bias
this was the interesting one. lod bias shifts which mip level gets selected — positive values force lower-res (blurrier) mips earlier, negative values force higher-res mips to stay active longer.
practically: a small positive bias (0.5–1.0) on a floor can make distant tiles look softer/cleaner. a large negative bias sharpens everything but brings back shimmer. game engines expose this as a “texture sharpness” slider in settings — now i know exactly what it’s doing under the hood.
what i learnt
- mipmapping is a storage vs quality trade-off: you pay ~33% extra memory for the full mip chain, but get massively better quality and often better performance (lower-res samples are cheaper to fetch)
NEARESTmag filtering on a pixelated sprite is intentional and looks great — it’s not always the wrong choice- lod bias is more powerful than i expected — a tiny tweak changes the entire feel of a scene
- tiling textures with a uniform is cleaner than baking tile count into texture coordinates